 The stationary bicycle has been a fixture of exercise routines around the world for over 200 years. Whether in home gyms, fitness centers, or spin studios, the stationary bike is the go-to way to get a good indoor cardio workout. More recently, alternatives have started to appear that give the basic indoor bike a run for its money – fan bikes.
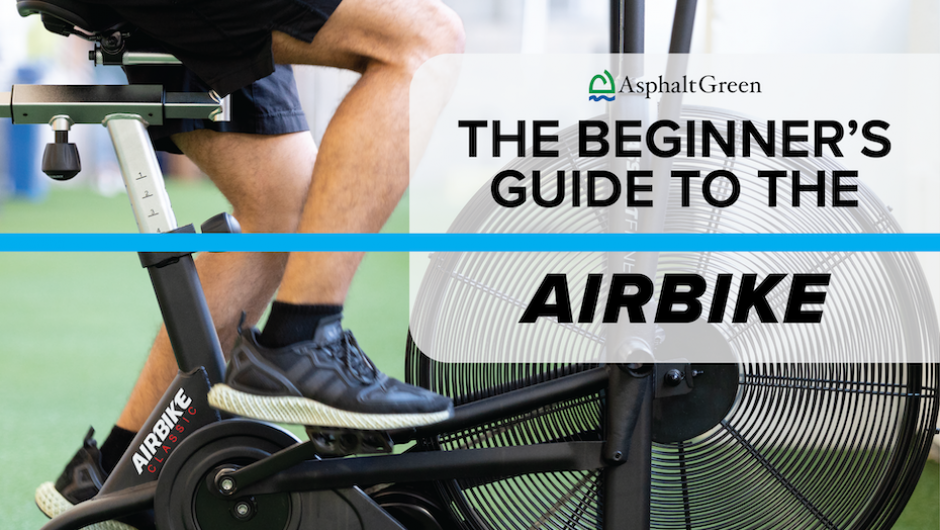
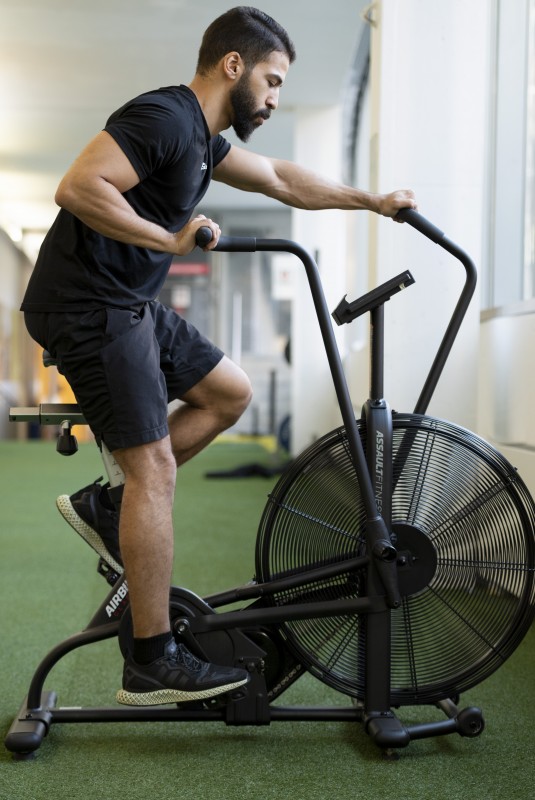
The Assault Fitness® AirBike was revolutionary when it first came out back in the ’90s. There are a few competitors on the market, but the AirBike is the industry standard, and it’s the model you’ll find in our fitness centers.
The bike gets its name from the way it uses air to generate resistance. Pedaling or moving the handles on the machine causes the fan at the front of the bike to spin. The air pushing back on the fan blades creates the resistance you’ll be pedaling against when you use the machine. The harder you pedal, the more resistance the fan produces.
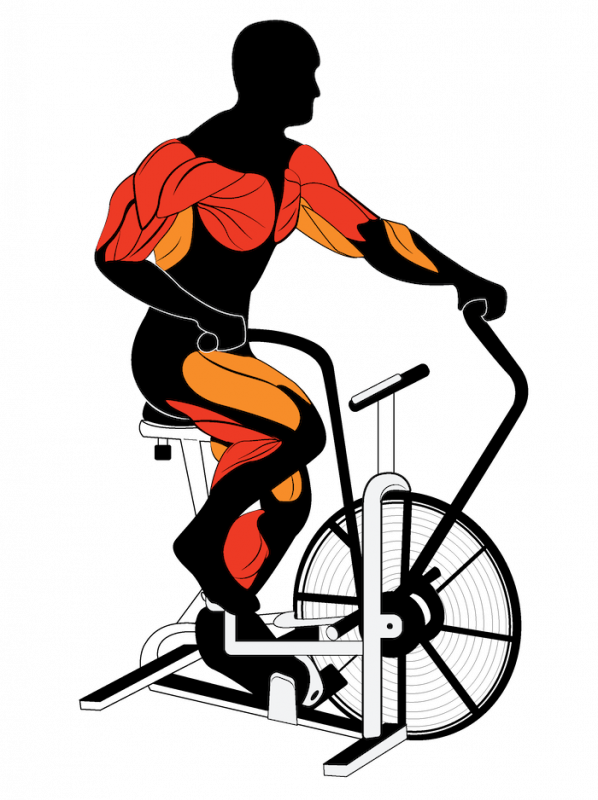
A key difference between the AirBike and a regular stationary bike is that the AirBike allows you to work out your arms as well as your legs and core. While traditional bikes have stationary handlebars, the handles on the AirBike move, and are connected to the fan just like the pedals. That means you have to put in work to move them, too. You can even rest your legs and use the AirBike to just work your upper body.
The AirBike is a low-impact exercise machine, so just about anyone can use it – although people with injuries or reduced leg mobility should avoid working out on stationary bikes of any kind. It provides a popular cardio workout with a little bit of strength conditioning all in one. It can also serve as a great warm-up or cool-down when paired with strength training or be used as part of a HIIT routine. Although it’s primarily a cardio machine, the bike also works your quads, glutes, core, and upper arm muscles.
How to Set Up the Machine
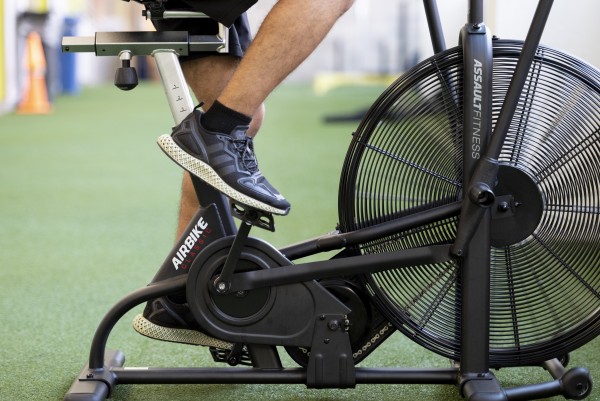
Unlike other pieces of training equipment, there aren’t any adjustments you need to make to choose the level of resistance you want from the AirBike. Instead, you’ll encounter more resistance the faster you pedal. The faster the fan spins, the more resistance it generates and the harder your muscles and heart have to work to keep going. The only adjustment that needs to be made to the bike is the position of the seat.
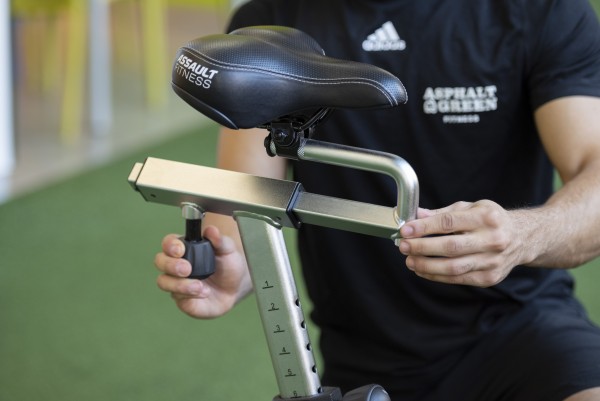
How you adjust the seat will depend on how long your legs and arms are. The vertical adjustment is determined by your legs, and the horizontal adjustment depends on the length of your arms. To get the height right, make sure your knee forms about a 155-degree angle at the bottom of your pedal cycle. This will ensure you get the maximum amount of power out of each stroke. You’ll want your legs almost all the way extended, but you don’t want to lock your knees at the bottom of your stroke.
The horizontal adjustment is similar. Move the seat forward or backward until your arms are almost all the way extended when the handles are farthest away from you as you push on them. This adjustment is also about power and efficiency.
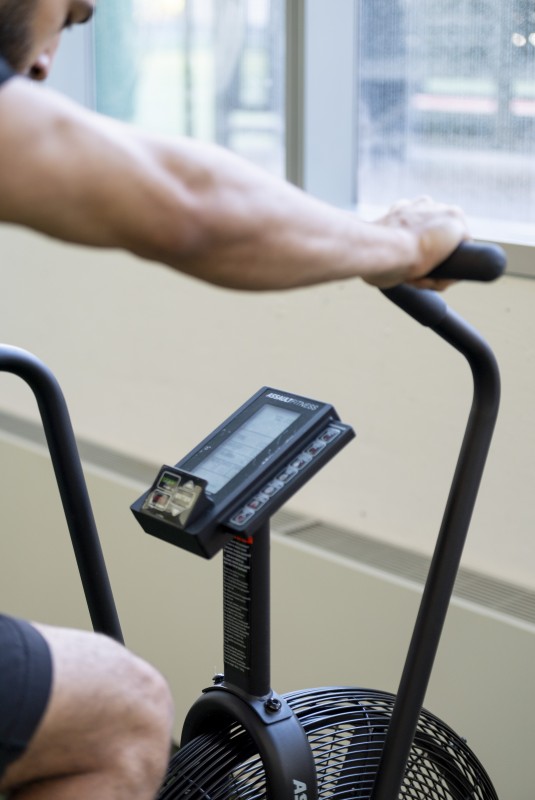
You can also adjust the angle of the seat, but it’s best to leave it in a neutral, flat position. You want to be sitting in the middle of the seat, not sliding off the front or back.
Using the Machine
The good news is that using the AirBike is, well, just like riding a bike! Even if you’ve never ridden a bike before you can still use this machine, though, because it doesn’t require you to balance. Just adjust the seat, hop on, and start pedaling.
If you prefer a good cardio and lower-body workout, you can stick to solely pedaling. But if you do that, you’ll miss out on one of the big benefits of the AirBike – it’s a total-body machine. By moving the handles, you can work out most of the muscles in your upper body, too.
For longer, cardio-focused sessions, the key is to keep the AirBike’s fan moving at a consistent speed. Remember, resistance increases or decreases depending on how fast the pedals – and fan – are moving. Keeping a consistent resistance level is key to getting the most effective cardio workout.
Ready to Work the AirBike into Your Routine?
As with almost any machine, how you use the AirBike will depend on what you want to get out of your workout and what your fitness goals are. Since you can choose your own pace and resistance with the AirBike, a straight up cardio exercise workout can be simple on the AirBike, but not easy! Just pick your pace and go! Beginners should aim for 10 to 15 minutes on the machine.
If you’d prefer to get high intensity interval training in, here are a couple suggested workouts. Interval training is tough, but it provides better cardio and strength outcomes than longer, more relaxed exercises. The best part about the AirBike is that beginners can start slow, making these routines perfect for every level. Make sure you warm up before HIIT exercises. A great warm-up machine is the SkiErg.
Exercise 1:
Perform 30-second intervals of maximum effort on the AirBike for five rounds.
30 seconds of work and 30 seconds of rest per interval until five minutes have elapsed.
Exercise 2:
10 seconds of max effort / 10 seconds of rest.
30 seconds of max effort / 30 seconds of rest.
30 seconds of max effort / 20 seconds of rest.
Repeat these intervals until 10 minutes have elapsed.
You can find the AirBike on the fourth floor of our Upper East Side campus’s fitness center by the turf, and in the middle of the fitness center at our Battery Park City location.